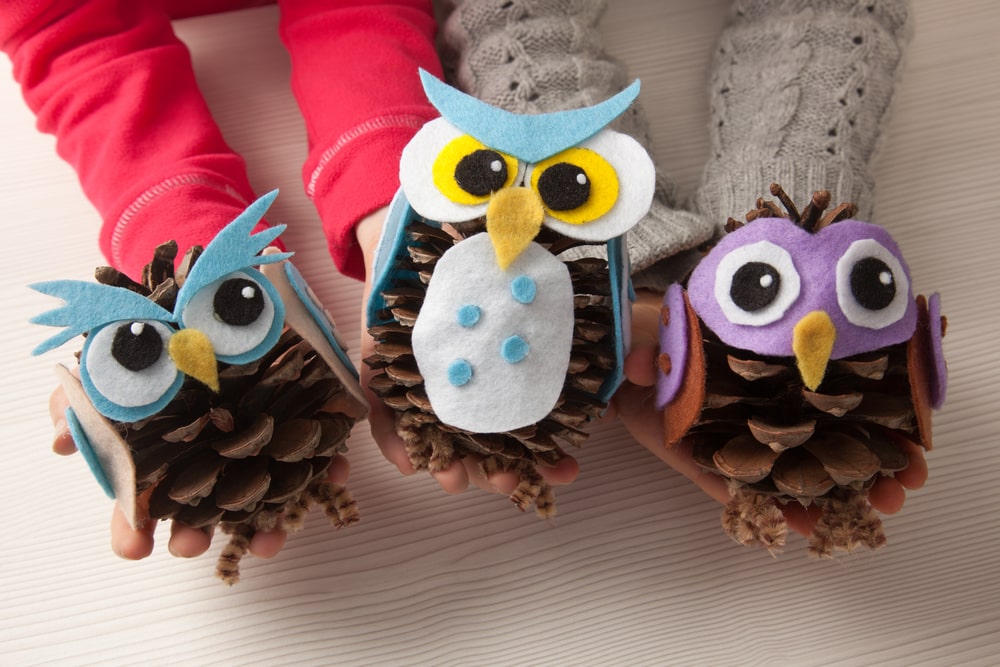
Pine cones are a huge hit around our household and why wouldn’t they be? They’re FREE, fun to find and keep the kids busy! The best time to go hunting for them is starting around fall, but you can also find them at pretty much any crafting store year around. Your best bet on finding them out in nature is wherever there are….you guessed it… pine trees (or conifer trees)!
I love taking my kids out around neighborhood and into the forest to find them — this way, they have plenty of pine cones to choose from, and they’re also getting exercise too! Win Win! If you do end up bringing home pine cones from outside, I’d highly recommend that you put them in the oven at 200 degrees for around 30 minutes or so. This way it’ll kill off any pests or bacteria lurking inside! Just make sure to carefully keep an eye on them while in the oven.
The thing I love about pine cones is that they make lovely fall decorations on their own — you can simply fill a bowl full of them or put a bunch into a vase — and they look beautiful! They can also easily be turned into a whole collection of cute things for kids with just a few common craft supplies. For many of the crafts listed below, you’ll only need a few materials: felt, pipe cleaners, pompoms, wiggly eyes, and paint. If you already have these on hand, you have everything needed to make many of the pine cone crafts. Turn today into a craft day and see how many you and your kids can create together!
Some of the pine cone crafts that you’ll find below are perfect for a variety of holidays like Halloween, Thanksgiving and even Christmas! We have a cute little bat in the list, along with a turkey craft for Thanksgiving, plus a reindeer and snowman for Christmas. There also also several woodland creatures that would be fun to make as well! Whether you’re making these for the holidays or for a lesson on nature, the kids are sure to enjoy exploring their creative sides. Enjoy our top 22 pine cone crafts for kids!
1. Thanksgiving Pine Cone Turkeys
Image source: Live Craft Eat
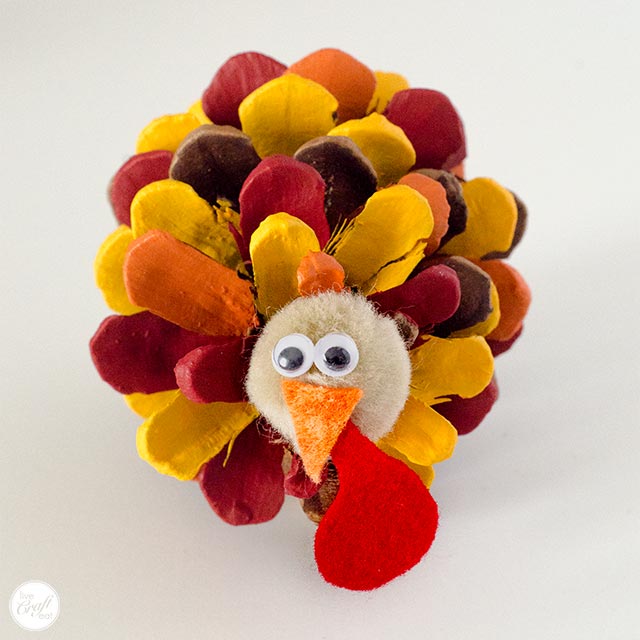
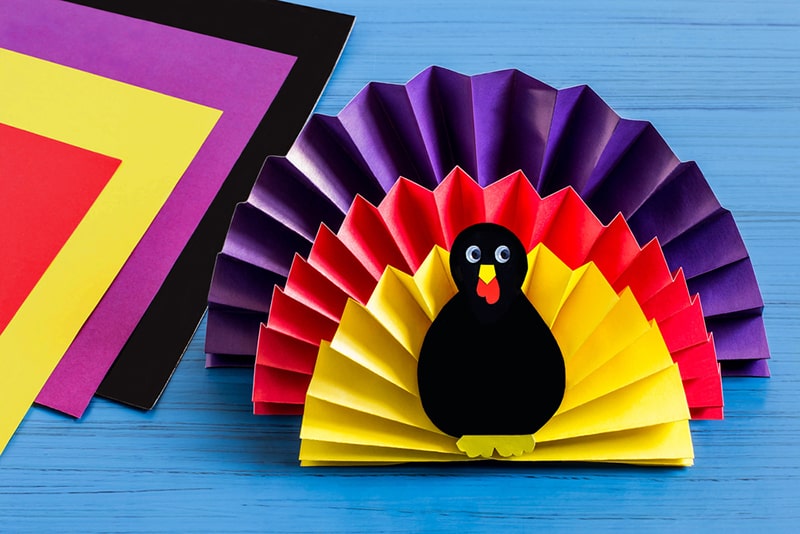
Pine cones make a festive centerpiece for your table and can be turned into turkeys with this tutorial from Live Craft Eat. This turkey craft would make a fun busy project to entertain the kids while waiting for Thanksgiving dinner to be ready. Paint the scales with an assortment of fall colors and add a face made from pom poms, felt, and wiggly eyes. Use them to decorate the table or as place card holders.
2. Paint Splatter Nature Art
Image source: Mom Explores the Smokies
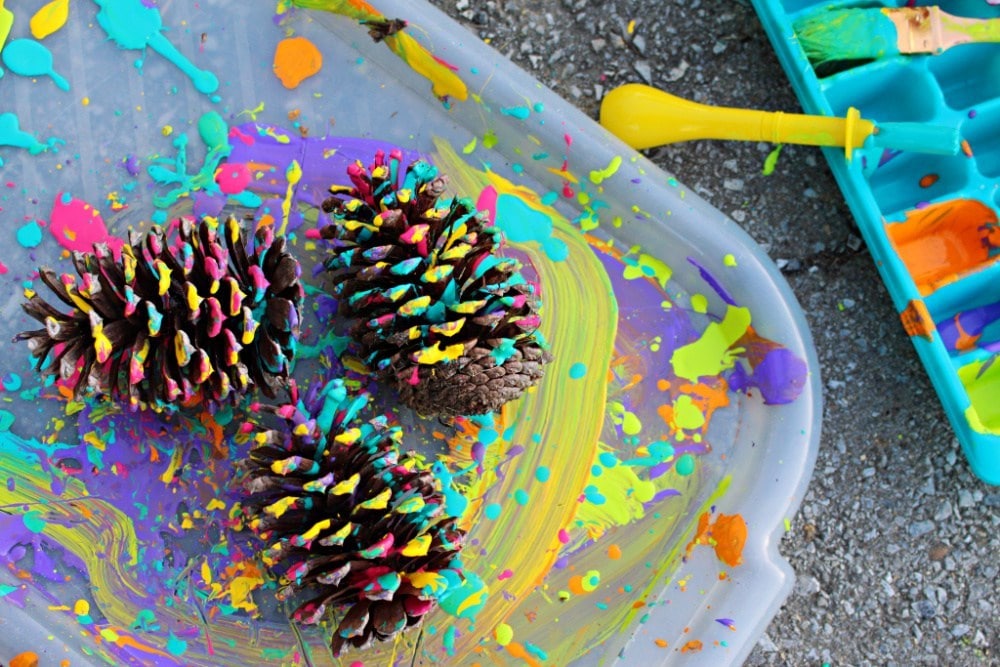
Take a nature walk with your kids to spark creativity and imagination. While you’re out, collect a few pine cones for this simple paint splatter nature art project from Mom Explores the Smokies. Encourage kids to explore that creativity through painting using a variety of techniques. Experiment to see what happens when you mix colors, try different brush sizes, or alternate between brushing and splattering. Be sure to protect your workspace with a drop cloth and wear clothes to get messy.
3. Red-nosed Reindeer Christmas Pine Cones
Image source: Feels Like Home
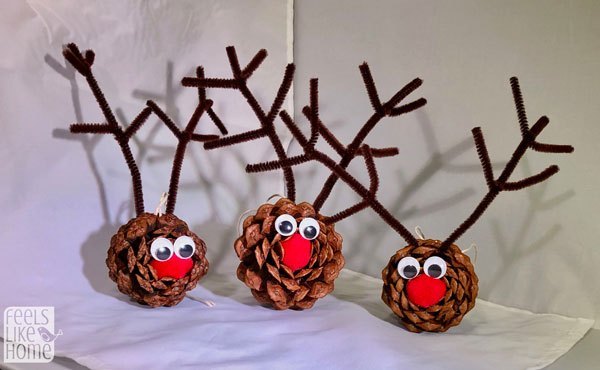
The most-famous reindeer and hero of Christmas stories is the perfect addition to your holiday crafting plans. Not only is a pine cone Rudolph cute, but also easy and fun for kids of all ages. Follow this tutorial from Feels Like Home. You’ll need a big, brown pine cone for the reindeer head/body. Add brown pipe cleaner antlers, big wiggly eyes, and a red pom pom nose. Make one or enough to pull a sleigh! Find more ideas for reindeer crafts here.
4. Natural Pine Cone Bird Feeder
Image source: Natural Beach Living
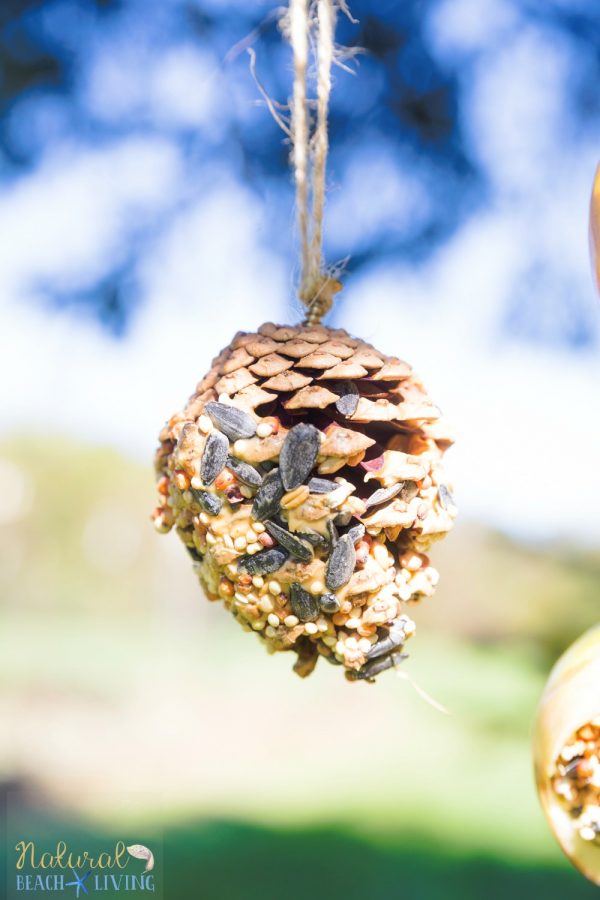
Inviting birds to your backyard is as easy as making a pine cone bird feeder by Natural Beach Living. Kids will love watching the variety of bird species that flock to your backyard for a bite to eat and while there, the birds might nibble a few mosquitos and other pests too. To make this bird feeder, all you need to do is spread peanut butter on a pine cone and roll it in birdseed.
5. Adorable Pine Cone Hedgehogs
Image source: Parents
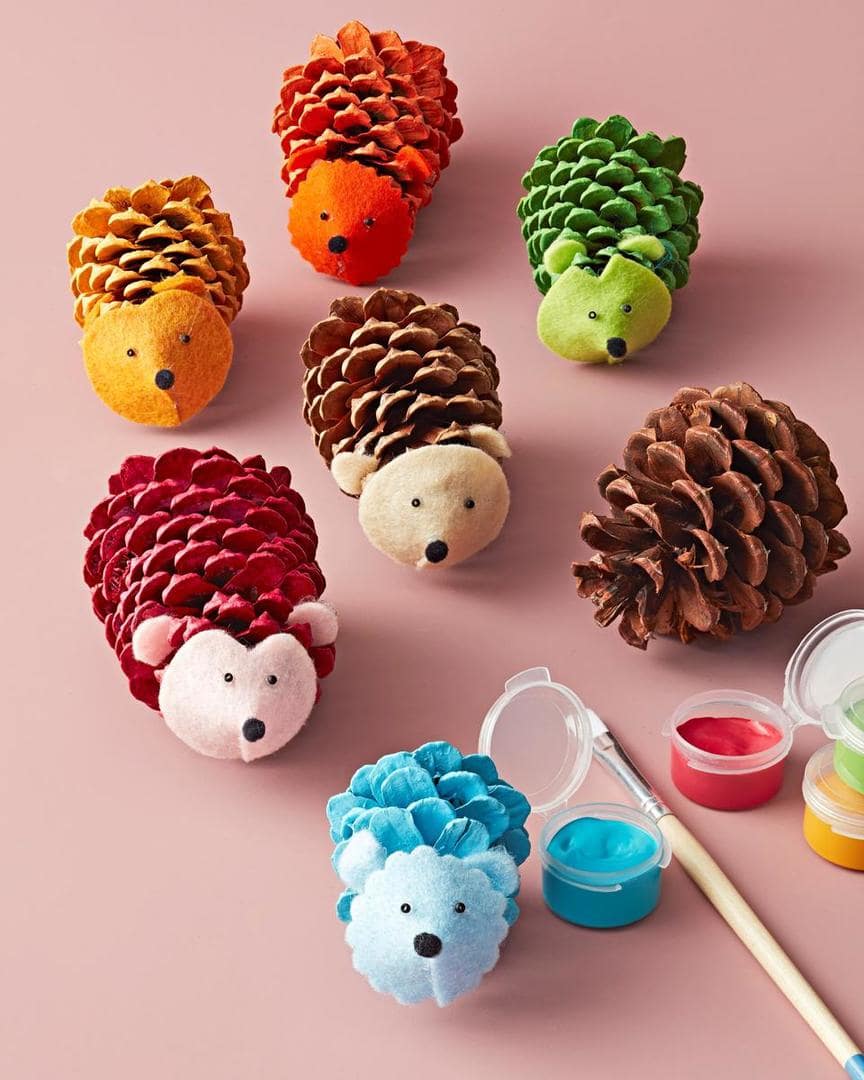
This colorful family of hedgehogs is much easier to care for than most small furry pets. In fact, your kids may find them irresistibly cute too. Start by coloring pine cones with brightly-colored paint or dye like this project from Parents. Use felt to make a face and ears, then add a pom pom nose and tiny bead eyes. Try cutting the felt in different shapes or trimming the edges for extra detail.
6. Tiny Pine Cone Fairies
Image source: Twig and Toadstool
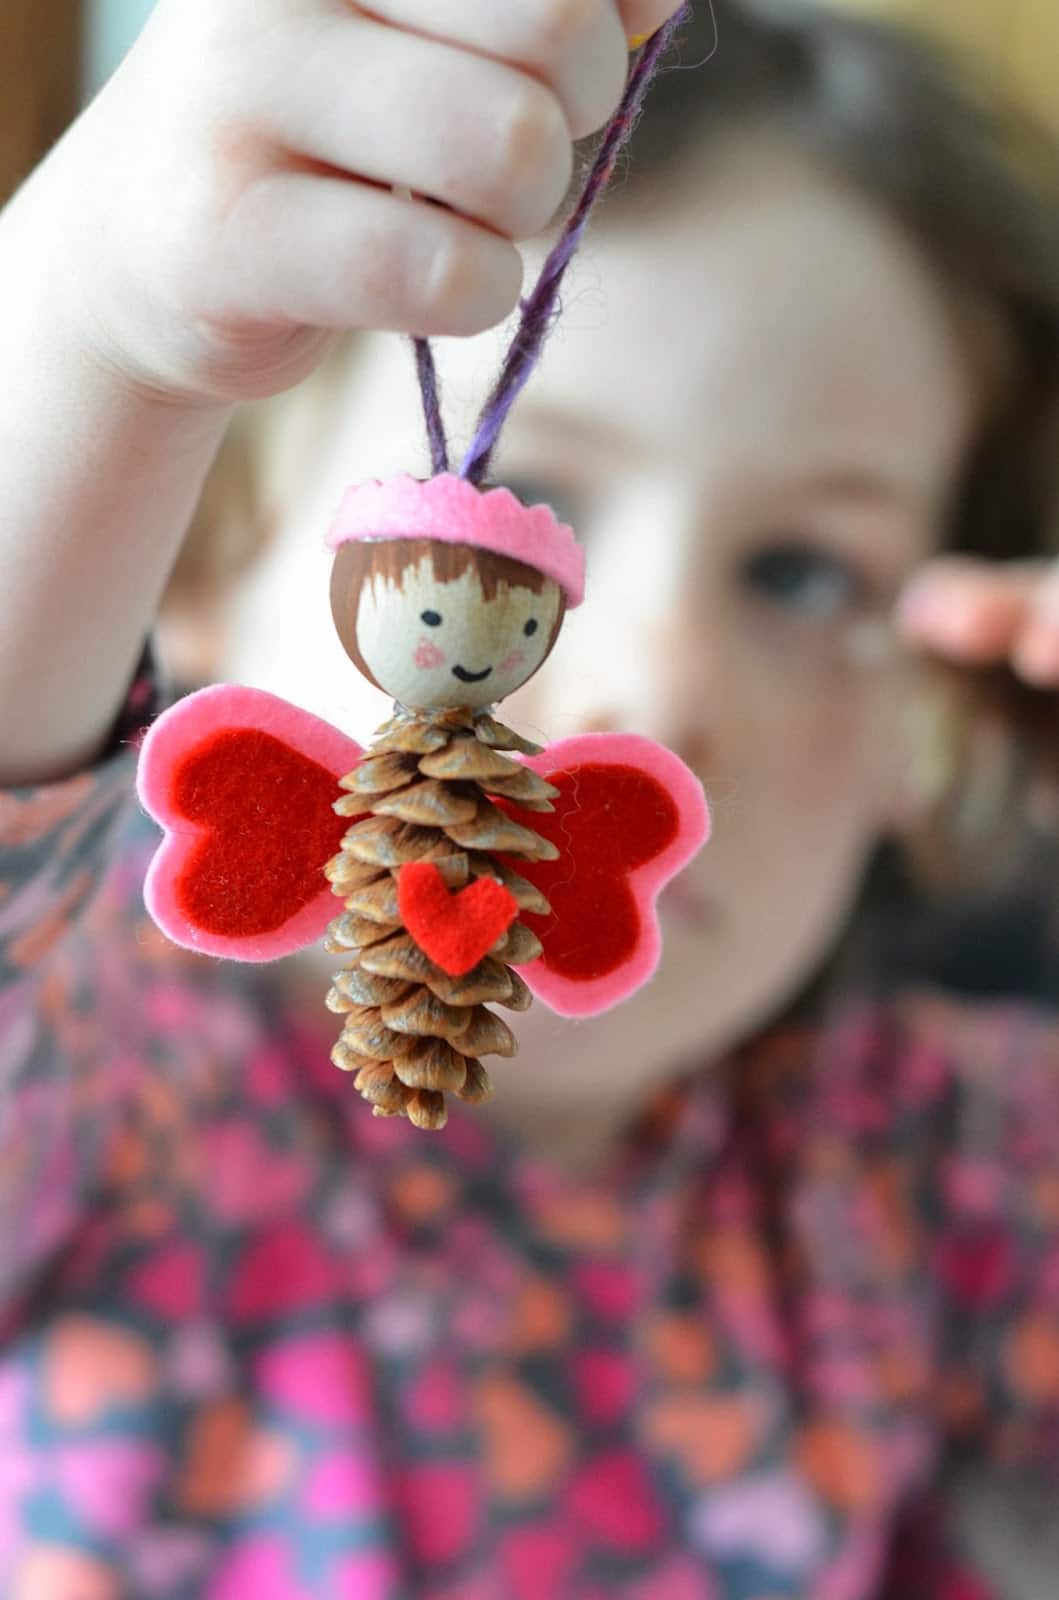
These tiny fairies from Twig and Toadstool are just precious. They’re made from pine cones, wooden beads, and a few everyday craft supplies. You can use any size, but smaller, slim pine cones are ideal. Paint a face with a smile on a wooden bead and cut a pair of wings from some felt. Thread string through the bead to make your fairy able to hang up. Feel free to make other accessories from felt too.
7. Pine Cone And Clay Hedgehogs
Image source: Easy Peasy and Fun
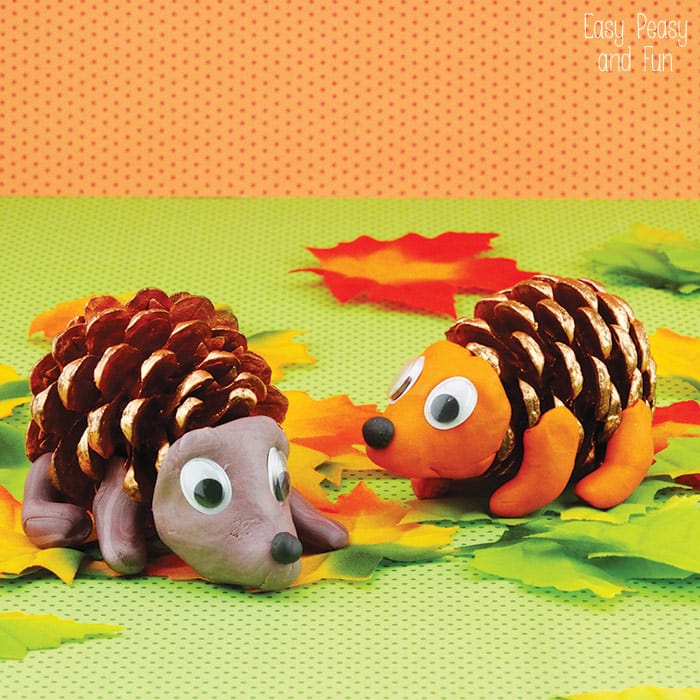
For a slightly more durable hedgehog, try making the features from clay like in this tutorial from Easy Peasy and Fun. Start with clean, dry pine cones. Use clay or playdough to create the legs and head. Add a pair of wiggly eyes to the face and shape the clay with your hands. Make this your own by choosing different colors of clay or adding other features and accessories.
8. Woodland Pine Cone Bunnies
Image source: Fireflies and Mud Pies
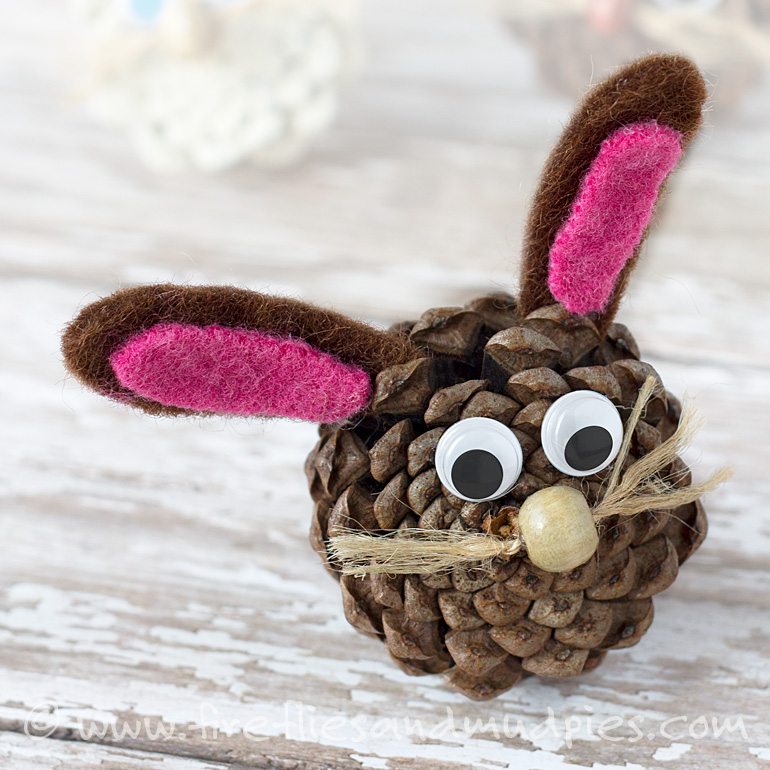
Like the other woodland creatures found in this roundup, these bunnies are easy to make and the result is cute. For this project from Fireflies and Mud Pies, choose pine cones that are round and almost “chubby” to resemble a fluffy bunny. Make ears from felt, add a pom pom tail, and use a bead and twine to make the nose with whiskers. Of course, you won’t want to skip the wiggly eyes! These make for a cute spring time craft for the kids as well if you have any pine cones laying around.
9. Colorful Christmas Pine Cone Ornaments
Image source: One Little Project
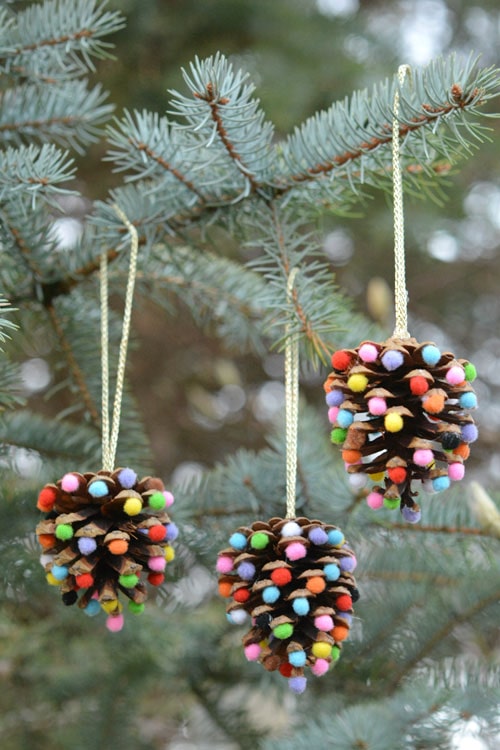
Often the simplest craft ideas are the prettiest. These pine cone ornaments don’t require much, but will add an accent of nature to your holiday décor. Turn this idea from One Little Project into a family activity and create a keepsake to enjoy for many years. The process is simple. Holding the pine cone upside-down, hot glue small pom poms to several of the tips. Add a cord for hanging.
10. Pine Cone Christmas Trees
Image source: Elementary Art Fun
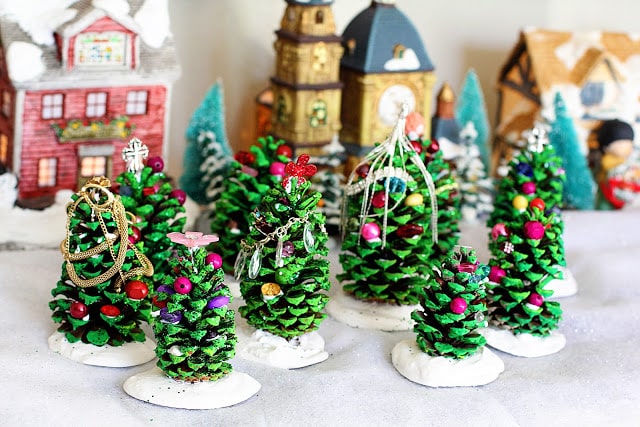
These festive Christmas trees are perfect for decking the halls and look right at home in a miniature Christmas village. Paint a few big pine cones green and dress them up with pieces of costume jewelry or beads. Elementary Art Fun starts by making a tree stand base from plaster of paris. After they dry, cut beads from old necklaces and use craft glue to attach them to the trees.
11. Easy Rustic Pine Cone Apple
Image source: Fireflies and Mudpies
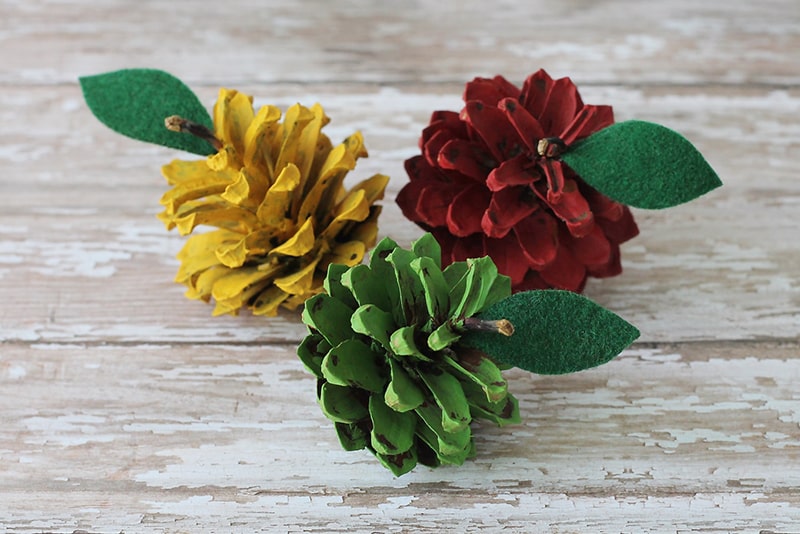
Decorate your kitchen with these cute, homemade apple crafts or bring them as a teacher gift on the first day of school. These pine cone apples from Fireflies and Mudpies are the perfect craft project for kids. Paint the pine cones in candy apple red, granny smith green, or golden yellow. Add a leaf made from a piece of felt and attach a loop of twine cord so the apple can be hung up.
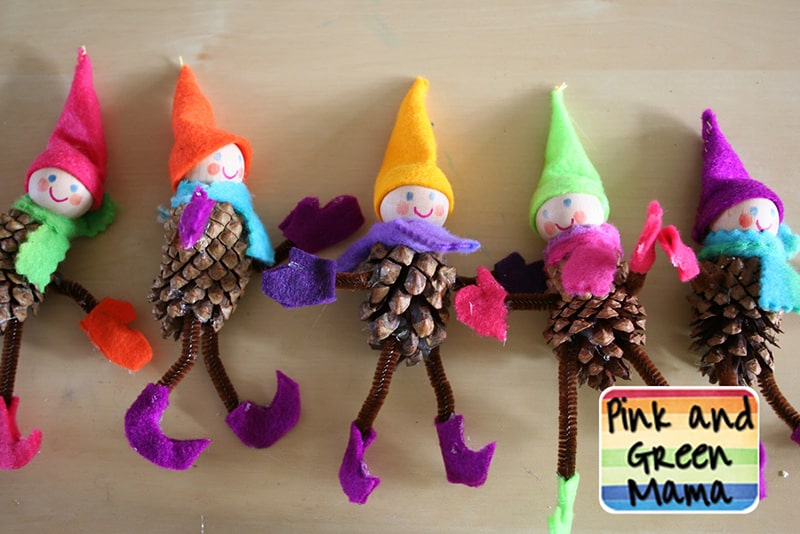
12. Pine Cone Elf On The Shelf
Image source: Pink and Green Mama
The Elf on the Shelf is a sneaky little guy who keeps an eye on the kids and tells Santa if someone has been naughty. Your kids can make their own to adorn the mantle at Christmas by following this tutorial from Pink and Green Mama. These elves have pine cones for bodies, pipe cleaner arms and legs, and painted wooden bead faces. You can also make felt accessories like hats and scarves too.
Related: The 37 Most Festive Santa Crafts For Kids This Winter
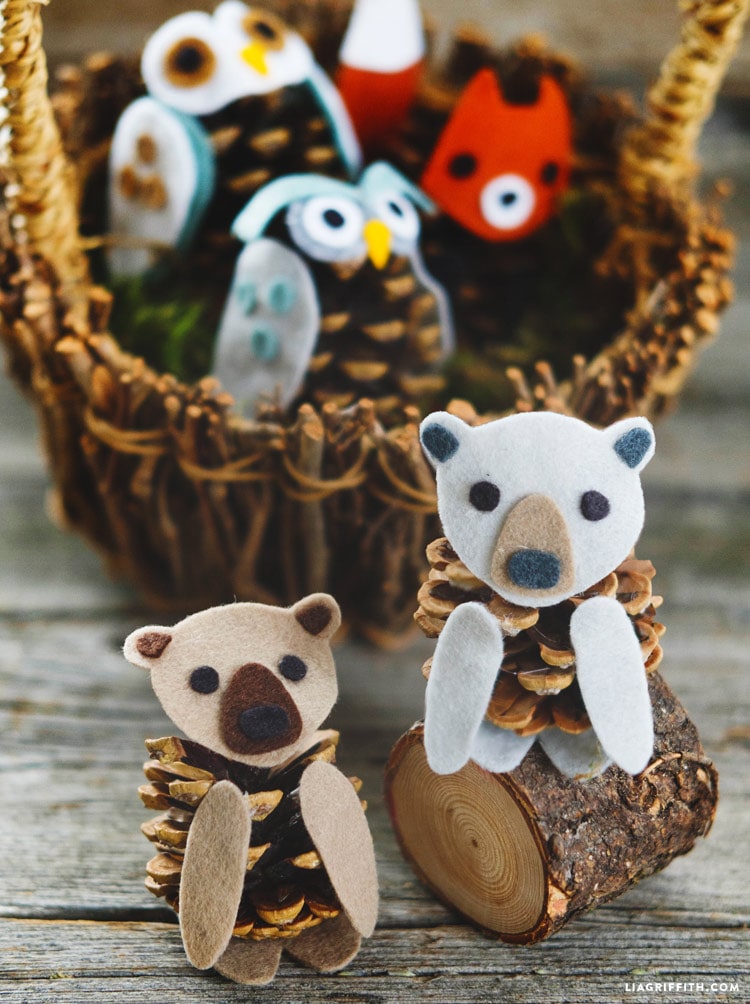
13. Cuddly Pine Cone Bear
Image source: Lia Griffith
They might not be soft, but these pine cone bears from Lia Griffith will make you want to snuggle them. All you need for this project are felt, pine cones, and glue. Print and use the template to make the face, hands, and feet from felt before carefully gluing them in place. You may also want to make a friendly raccoon, fox, or owl to sit beside the pine cone bear too!
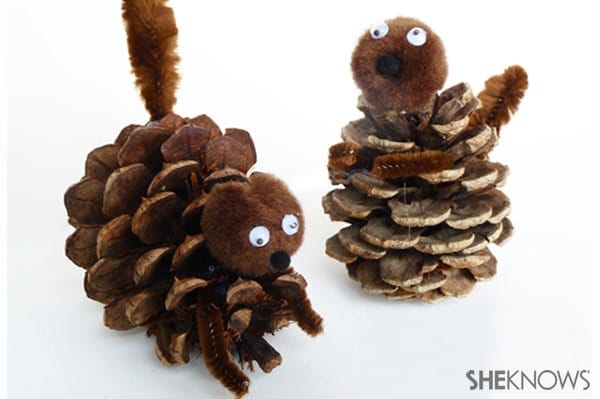
14. Nutty Pine Cone Squirrel
Image source: Simply Designing
This easy craft idea from Simply Designing was inspired by the film, “The Nut Job,” but will appeal to all kids who love squirrels. Brown pipe cleaner and pom poms become the features attached to the pine cone body. This craft calls for two types of pipe cleaner: the regular straight variety and the bump variety. You’ll also want to include a pair of wiggly eyes for each smiling face.
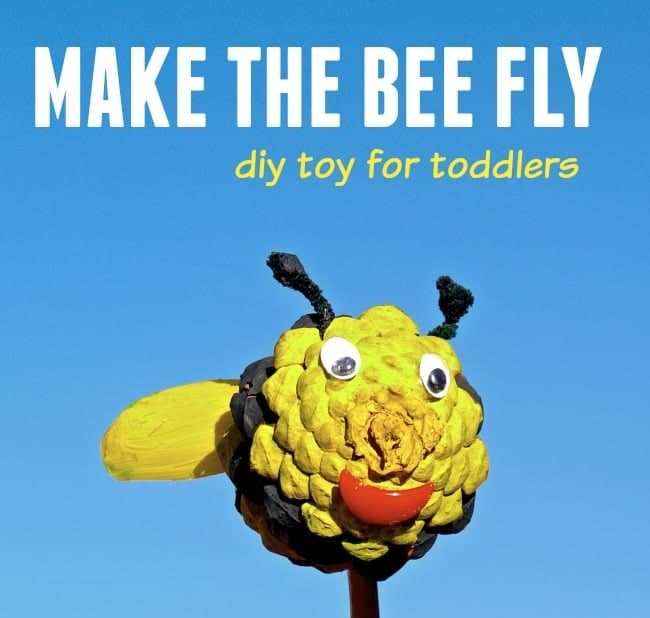
15. Busy Bee Pine Cone Toy
Image source: Playtivities
This sweet little bee craft will make the perfect toy for a toddler who loves bugs. Follow this tutorial from Playtivities to make a bee from a pine cone painted yellow and black. The antennas are made from pipe cleaner, while the face and wings are cut from recycled plastic. You’ll also want to find a long stick or wooden dowel to attach the finished bee so that it can fly around.
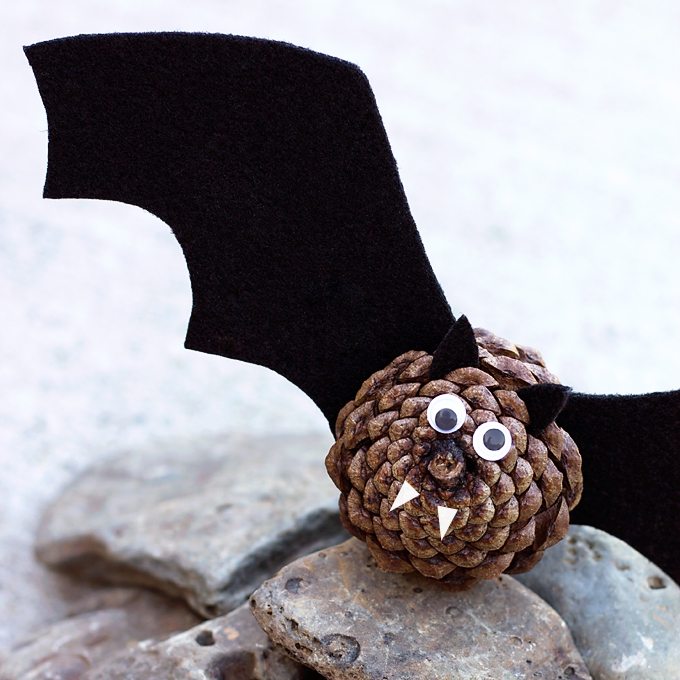
16. Creepy Cute Pine Cone Bats
Image source: Fireflies and Mudpies
Fireflies and Mudpies says this bat craft is creepy cute. Whether you love bats or just want to decorate for Halloween, this tutorial is also a ton of fun. Start with a pine cone and add ears and wings cut from stiff black felt. Add a pair of wiggly eyes and two white paper fangs. To hang these bats up as decoration, use fishing line or clear cord to attach them to windows, doors, and other décor.
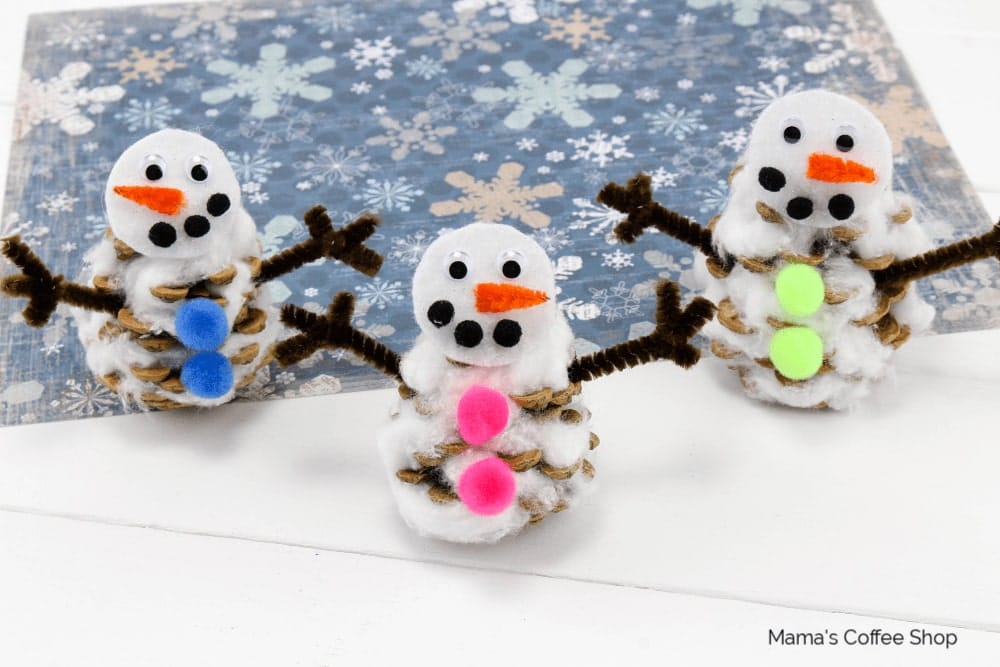
17. Winter Pine Cone Snowman
Image source: Mama’s Coffee Shop
Decorate for Christmas or add this project from Mama’s Coffee Shop to your winter activity list. There are a lot of steps, but most of them are small details. You’ll need cotton balls to stuff around the pine cones to make the snowman’s body. In addition to wiggly eyes, you’ll need felt and pipe cleaner for the carrot nose, charcoal mouth, and arms. For more detail, make a hat and scarf from extra felt. Find more fun snowman crafts here!
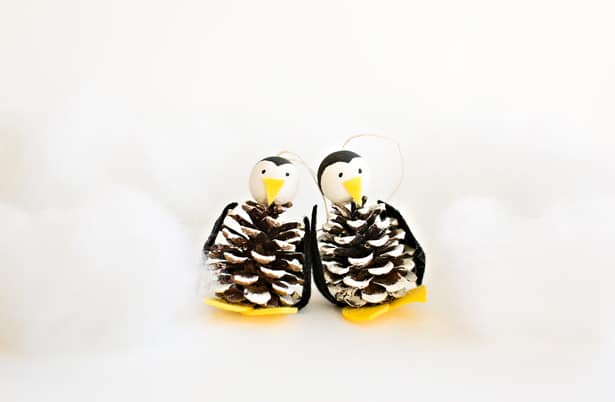
18. Penguin Pine Cone Ornaments
Image source: Hello Wonderful
Everyone adores a penguin waddling across the winter snow and ice. Make a whole family of them to adorn the Christmas tree with this tutorial at Hello Wonderful. In addition to a large pine cone for the body, you’ll need a wooden bead for the head, as well as some paint. You will also need black felt for the wings and yellow for the beak and feet. Finally, attach a piece of twine to hang the finished penguin.
We love penguins so much that we created an exclusive penguin craft list here. Make sure to check it out!
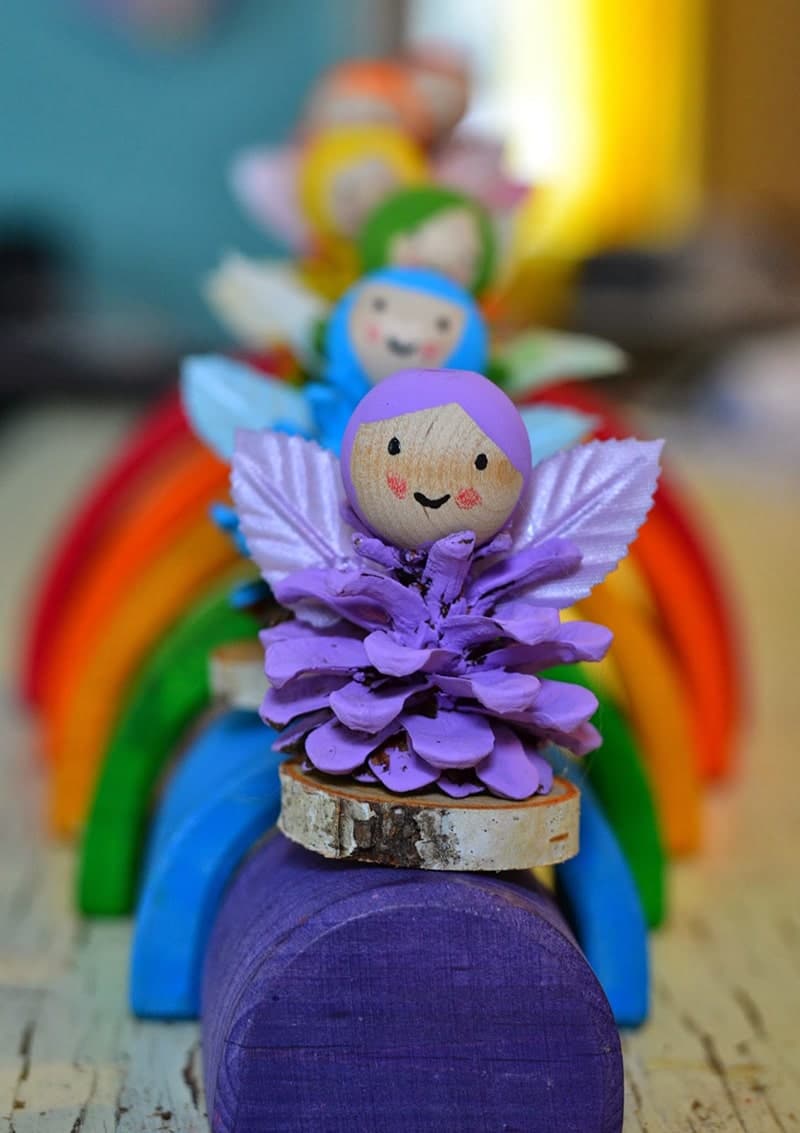
19. Colorful Pine Cone Fairies
Image source: Twig and Toadstool
There’s no right or wrong way to imagine fairies and this colorful craft from Twig and Toadstool has them in every color of the rainbow. Start by painting the pine cones in your choice of colors and attaching them to a wooden base. Decorate a wooden bead with hair and faces for the heads. Add food coloring to silk leaves for delicate wings or cut them from felt. Hot glue the features in place and get ready to play!
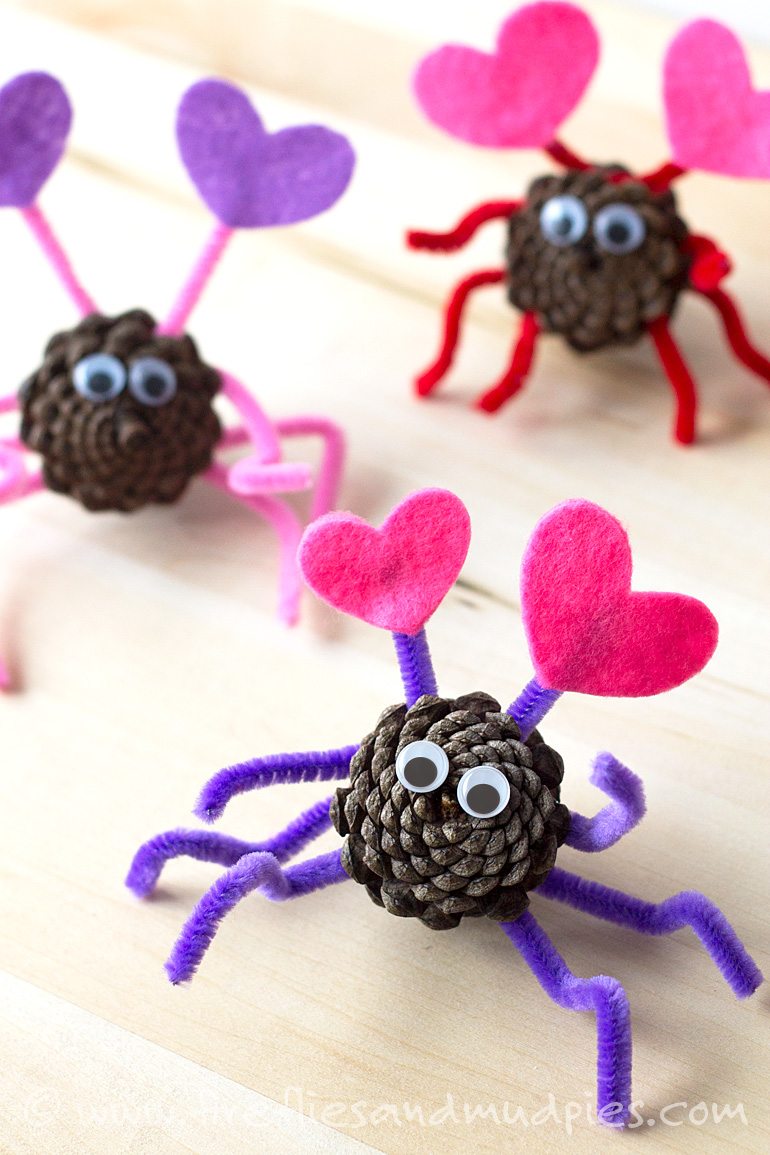
20. Valentine Pine Cone Love Bugs
Image source: Fireflies and Mudpies
Make this precious pine cone craft from Fireflies and Mudpies with your little “love bug” on Valentine’s Day. Use pine cones for the body and let your child’s creativity roam free to create any kind of bug. Any combination of red, pink, and purple felt and pipe cleaner will work. Use pipe cleaner to make antennas and legs. Attach any number of wiggly eyes and add felt hearts to the antennas. Make an ant, a spider, or even a mystery space bug.
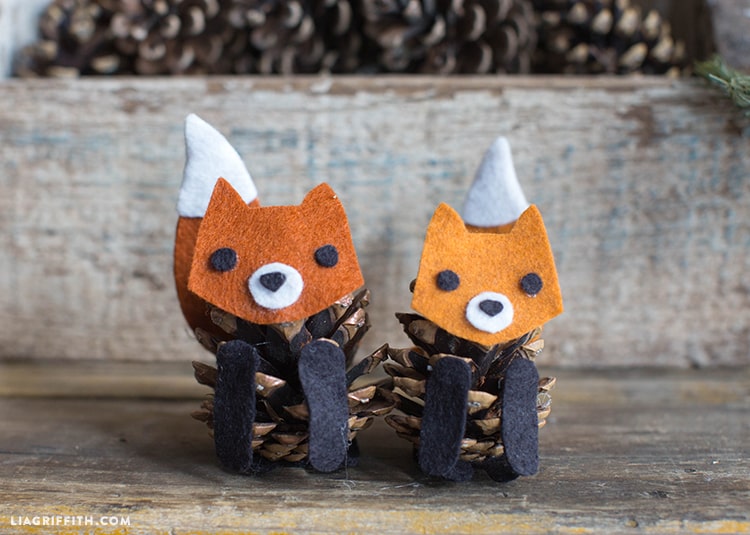
21. Friendly Pine Cone Fox
Image source: Lia Griffith
Add this pine cone fox to your woodland creature family for a whole series of creative play ideas for kids. This fox from Lia Griffith is made with just a pine cone and felt. Use the template to cut all the pieces from felt. Layer the facial features and attach the head. Thread a wire between pieces to make the tail stand up. Attach front and back legs in a sitting position.
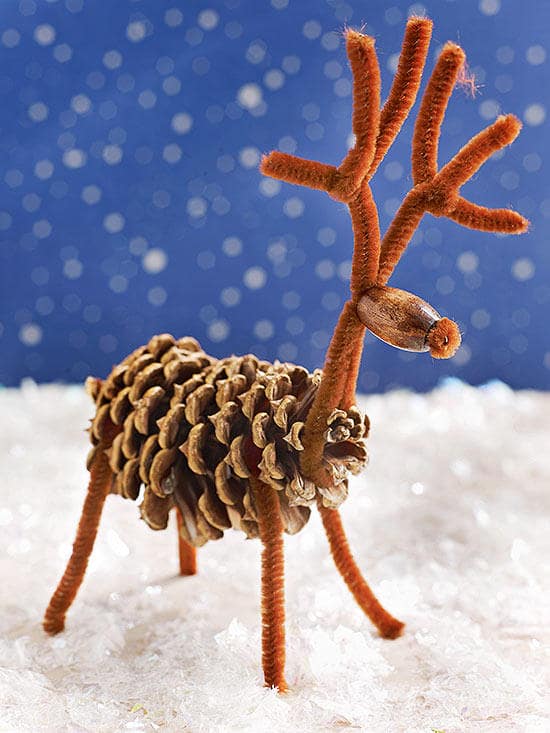
22. Pine Cone Reindeer
Image source: Parents
Make eight really tiny reindeer to pull Santa’s sleigh using this idea from Parents. This would be a fun group activity. A pine cone serves as the reindeer body and all the features are made from brown pipe cleaner and a bead. The trick to this craft project is to fold the pipe cleaner just right so that it forms the neck and antlers, while creating a place to slide the bead on for a face.
